Reverse SSH Server Deployment and Configuration
Estimated Time
15 Minutes
What
The Reverse SSH Server is an appliance which provides persistent connections to other servers or IoT devices even when those endpoints are deployed in private IP environments and even if the endpoints reboot unexpectedly. These reverse connections allow system administrators to have uninterrupted SSH access to the connected client systems for remote administration.
This persistent connection is provided by SSH over port 22 by default. Authentication to the server is specific to each client and key-based authentication is used. Old clients can be removed from the server and new clients can be added at anytime.
Why
The Reverse SSH Server eliminates the need to track and remember multiple, dozens, or hundreds of IP addresses of endpoint systems which need to be managed. All clients auto-connect to the server and maintain the reverse connection at all times. The Reverse SSH server meets the following needs:
- Persistent client connections to single server for easier administration.
- Custom client names for ease of administration.
- Connection durability - auto reconnects even across reboots.
- Ability to change server listening port on initial setup from 22 to 443 or any other port.
How
To begin the Reverse SSH Server deployment, navigate to the AWS marketplace here and deploy the appliance.
Configure the security group to only allow inbound SSH. The principle of least privilege means we shouldn't expose any non-essential ports.
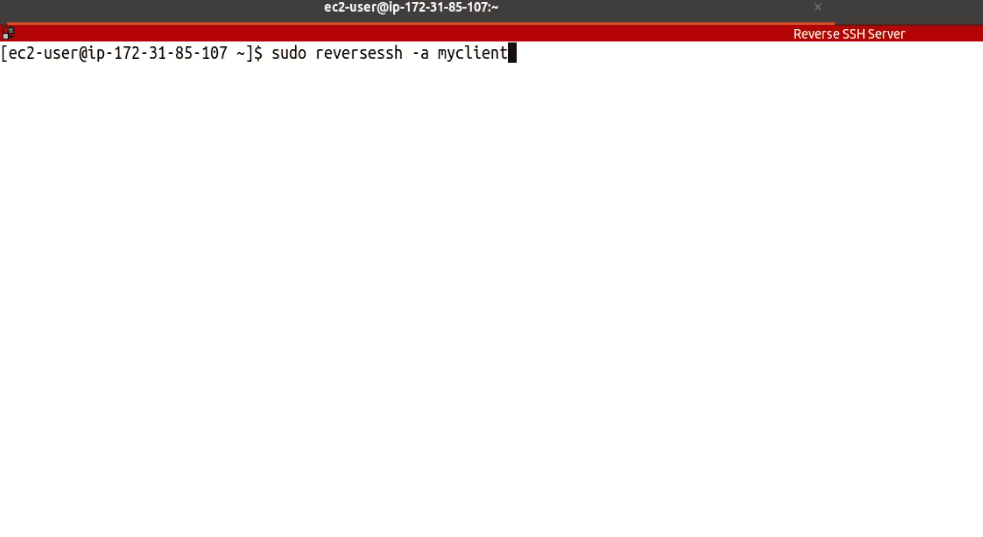
SSH into the Reverse SSH Server and create your first client script by running:
sudo reversessh -a myclient
The "-a" flag indicates that we're adding a user, and the program will output the client script into your current directory.
The client script contains a private key used to authenticate to the Reverse SSH Server. Each client will have its own key created. These scripts should be treated as sensitive documents and not stored in any unencrypted locations.
Display the file contents to the screen and copy its content to your clipboard (remember to replace "myclient" with your actual client name):
cat ReverseSSH-myclient-Client.sh
Now, in a separate window, SSH into your client machine and create the same client script:
nano ReverseSSH-myclient-Client.sh
Paste the clipboard content into this script, save, and close the file.
Make the client script executable:
chmod +x ReverseSSH-myclient-Client.sh
Run the client script with sudo privileges:
sudo ./ReverseSSH-myclient-Client.sh
Now, back in the Reverse SSH Server window, validate that the client has successfully connected:
sudo netstat -antp
If the client successfully connected, its name will be shown on the far right, and its SSH port will be forwarded to be locally accessible to the Reverse SSH Server.
We can now connect to the client machine locally via the Reverse SSH Server by specifying the client's username, forwarded SSH port and the client's RSA key. In our example, the client's username was ec2-user and the port which was forwarded was 56148:
ssh ec2-user@127.0.0.1 -p 56148 -i ~/.ssh/myclient-id_rsa
That's it, you can add as many clients as you wish to the Reverse SSH Server.
Here is a diagram depicting a typical AWS architecture:

In this illustration, we have three clients connecting back to the Reverse SSH Server.
Removing a client from the Reverse SSH Server
On the Reverse SSH Server, we can remove a client by running:
sudo reversessh -r myclient
The "-r" flag indicates that we are removing a client. This operation will remove a client from the Reverse SSH Server and terminate any existing connections from that client.
Video Walk-Through
FAQ
- Does the Reverse SSH Server appliance support single-AZ, multi-AZ or multi-region deployments? The appliance is a single EC2 instance that can be deployed into any VPC in any region.
- Does the Reverse SSH Server appliance support all regions? Yes, all regions are supported. Should we use the root user for deploying the Reverse SSH Server appliance? No, it is recommended to use a non-root user to deploy the appliance.
- Should the Reverse SSH Server appliance be encrypted when deployed? Yes, security best-practice is to encrypt the appliance when provisioned.
- Is data in-transit encrypted? Yes, all connections made to the Reverse SSH Server are via encrypted channels.
- Which services used by Reverse SSH Server are billable? The Reverse SSH Server appliance incurs EC2 and software cost when deployed. For example, a t3.small Reverse SSH Server instance costs $0.021 per hour plus $0.015 per hour for software for a total of $0.036 per hour of deployment.
- How can I monitor the health of the Reverse SSH Server appliance? Check the health of your server by viewing its status in the "Instance State" column in the EC2 Dashboard.
- How does the Reverse SSH Server appliance get patched and updated? The appliance is set to auto-install security updates on a daily basis.
- How do I handle a non-responsive Reverse SSH Server appliance? This is very rare, but a reboot should resolve the issue.
- Is there technical assistance available to help troubleshoot? Yes, we're available to assist and will typically respond within 1 business day. We can be reached by emailing: support at termilus.com